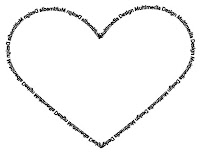
 First, I selected the pen tool and made a curve for one side of a heart. Then, with the text tool I clicked on the curve and wrote Multimedia Design. Next, I copy and pasted the curve and I went to object, transform, and selected reflect. After, I put the two sides together and created a heart.
Wednesday, September 29, 2010
Illustrator: Path-Multimedia Design
 First, I selected the pen tool and made a curve for one side of a heart. Then, with the text tool I clicked on the curve and wrote Multimedia Design. Next, I copy and pasted the curve and I went to object, transform, and selected reflect. After, I put the two sides together and created a heart.
Illustrator: Snowflake
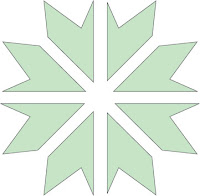
First, I clicked and held onto the rectangle tool and selected the star tool. Then, I created three different stars and put one in front of the other. Next, I selected all three stars and pressed the add symbol on the pathfinder tool. After that, I then made four equally sized rectangles and rotated them. Finally, I selected everything and pressed the subtract symbol on the pathfinder tool. My three stars then turned into a snowflake.
Tuesday, September 28, 2010
Illustrator: Path
Illustrator: Clipping Mask- Music
 Description:
First, I went on google and searched music images. Next, I picked a colorful and music themed picture and saved it. Then, I went onto Adobe Illustrator and went to file and selected place. I clicked on the image I saved and used type to write Music on top of the image. After, I selected both items and then went to object, hovered over clipping mask, and clicked make. The text Music was then full of parts of the picture.
Illustrator: Clipping Mask-Name
Description:
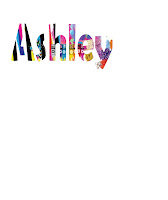
First, I found a colorful picture full of things I like and saved it. Then, I opened Adobe Illustrator and placed the image into the program. With the text tool, I wrote my name large and bold on top of the picture. Finally, I selected both items, I went to object, hovered over clipping mask, and clicked make. The text then was full of parts of the picture.
First, I found a colorful picture full of things I like and saved it. Then, I opened Adobe Illustrator and placed the image into the program. With the text tool, I wrote my name large and bold on top of the picture. Finally, I selected both items, I went to object, hovered over clipping mask, and clicked make. The text then was full of parts of the picture.
Illustrator: Shape
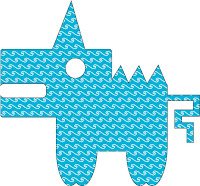
First, I created two equal sized rounded rectangles, selected both, and used the pathfinder to add the shapes. Next, I created four equal sized ovals and one smaller one. I put four of them close together in pairs and put the smaller one at the end of the rectangle. Then I selected all the shapes and used the pathfinder again to add all the shapes together. I then made a circle, three small triangles, and one bigger triangle. I put them into their right spots, then I added them all together, but with the circle I subtracted it from the image. Finally I made five different sized rectangles and put them together and added them to the image.
Monday, September 20, 2010
Welcome!
Hi! My name is Ashley Rubertone and I will be using this blog as a portfolio for my Multimedia Design class. I will be posting my project and examples along with a brief description of what I did. Please check back to see my work!
Subscribe to:
Comments (Atom)
